Introduction
This guide should be used only after the other 4 guides under the XRF have been read, understood, and practiced.
-
-
To access more features using the Bruker software, a laptop with certain qualifications is required.
-
-
-
If you are using a personal computer, use the CD-ROM provided in the XRF briefcase to download the software if you have not done so already.
-
If your computer does not have a CD drive, this is the newest version of the software (as of Spring 2016).
-
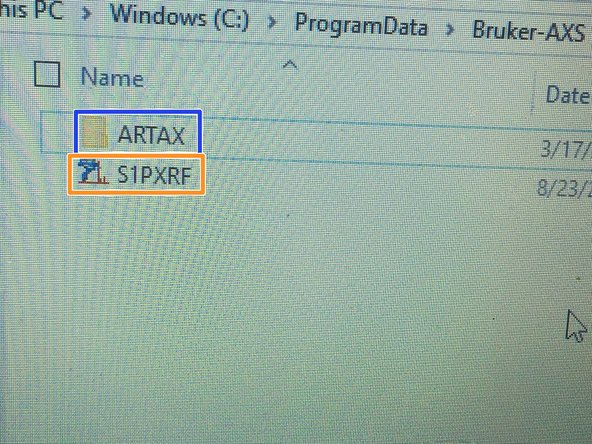
To install, put the Bruker-AXS folder into C:/ProgramData.
-
You will probably need to enable hidden files and folders to do this, these instructions will show you how: http://www.howtogeek.com/howto/windows-v...
-
-
-
Once Bruker-AXS is in the ProgramData folder, choose which software is the right fit for what you would like to do.
-
If you would like to gather data and interpret trends within data sets among spectra, use the ARTAX software.
-
ARTAX software can conduct projects of up to 100 spectra at a time.
-
If you would like to run customizable measurements or dive into more advanced analysis of spectra from the control of an external computer, use the S1PXRF software and proceed to step 6 of this guide
-
-
-
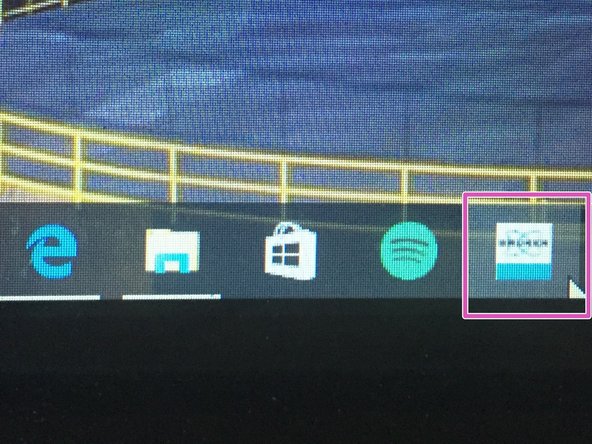
Should ARTAX's capabilities match your needs, go to Artax Best and find the Artax.exe launcher (should have the Bruker symbol on it).
-
Right click on that icon and you select "pin item to taskbar" or "pin item to start"
-
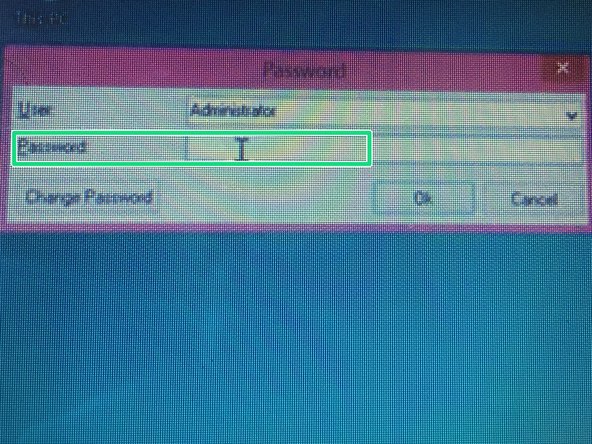
When you launch the program, it will prompt you for a password. Don't enter one, just click OK. The default adminstrative password is set to be blank.
-
After you click OK, there will be 3 errors since the computer doesn't detect an ARTAX unit - just click OK and you should arrive at the program.
-
The error messages are not relevant to the Tracer Series XRF
-
-
-
The ARTAX software is used for data gathering and interpretation from previous spectra you have already gathered.
-
ARTAX is an advanced and in-depth software with an array of customizable features. It is highly recommended that you watch this video before using the software: http://www.xrf.guru/styled/styled-4/inde...
-
This video will explain the key features of ARTAX, as well as walk you through an example of gathering data from a set of pre-recorded spectra.
-
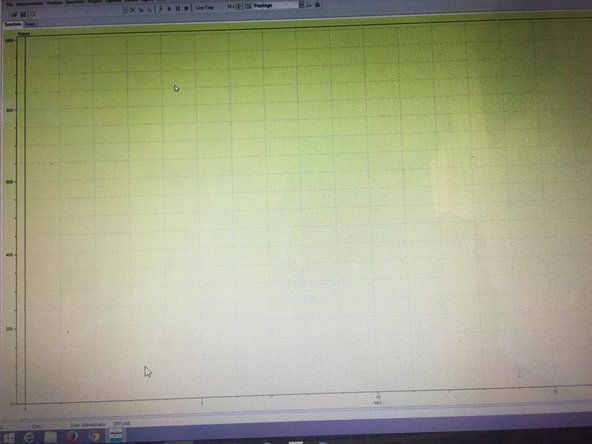
Pictured is the home screen to the ARTAX software.
-
-
-
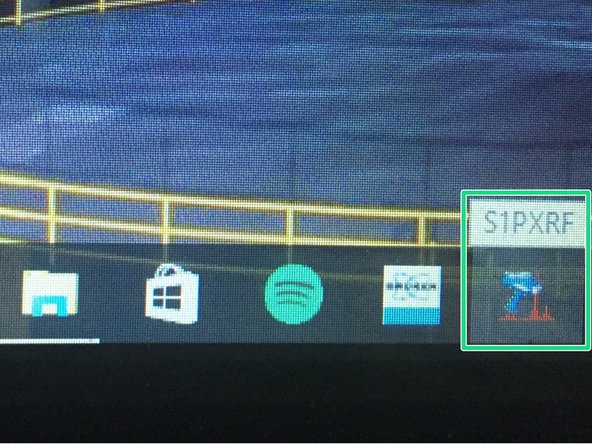
Should the S1PXRF software match your need, go to the S1PXRF folder under the ProgramData folder and double click the S1PXRF program or click the S1PXRF icon in the taskbar.
-
This software requires that you establish communication between your computer and the XRF-Gun before using the software.
-
-
-
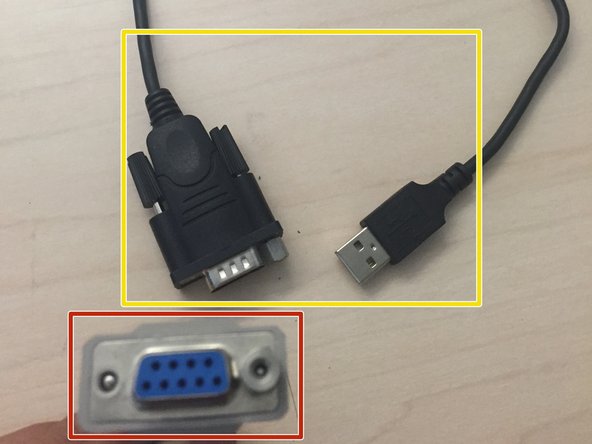
To establish communication between your computer and the XRF-Gun, plug the cable to your computer's serial port.
-
If your computer does not have a serial port, then you will need to use a USB-to-Serial converter.
-
This is provided in the XRF briefcase.
-
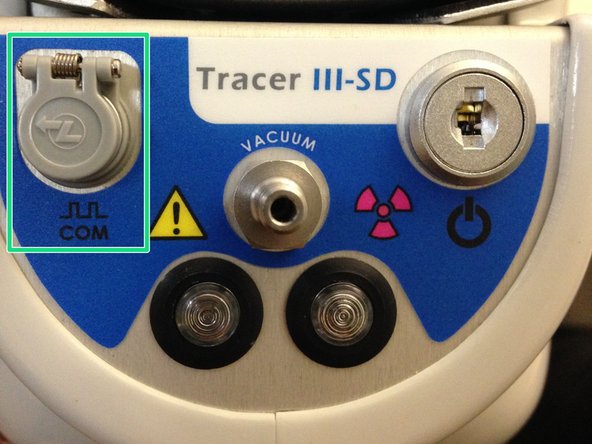
Plug the other side of the cable into the XRF gun's communication port.
-
Be sure to align the two red dots before inserting the cable connector into the XRF communication port.
-
-
-
Like the ARTAX software, the S1PXRF software is fairly complex and has an array of customizable functions. It is highly recommended that watch this video to configure and use the S1PXRF software properly: http://www.xrf.guru/styled/styled-3/inde...
-
This video will explain the key features of the S1PXRF software and give a walk-through of how to customize remote testing and analyze the spectra you have gathered.
-
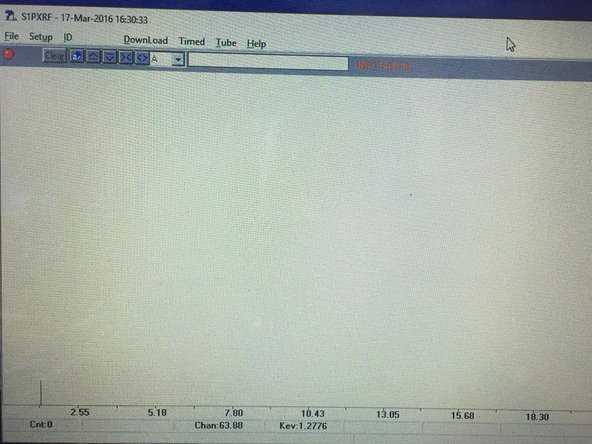
Pictured is the home screen to the S1PXRF software
-