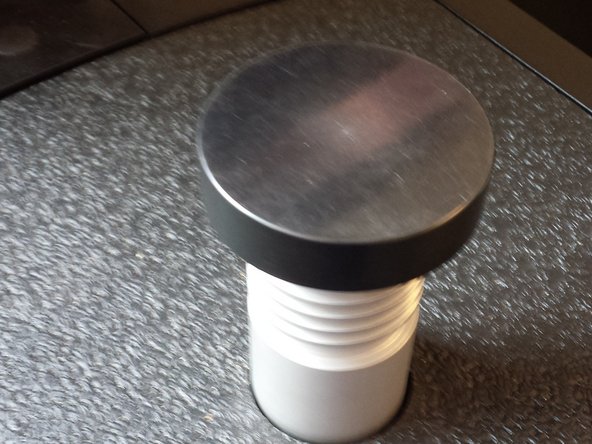
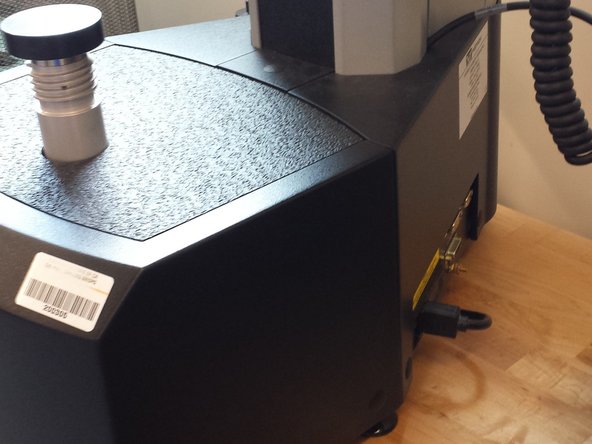
Tools
Parts
-
-
Check to make sure no threads are showing on the indenter.
-
The ball should be screwed all the way in.
-
Make sure the indenter being used is the correct indenter for the material.
-
-
-
Place the indenter into the "Snap Grip" holding mechanism.
-
-
-
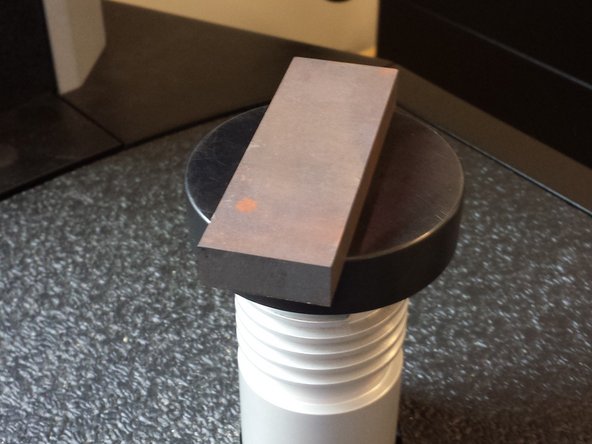
Make sure the sample is on the stage.
-
-
-
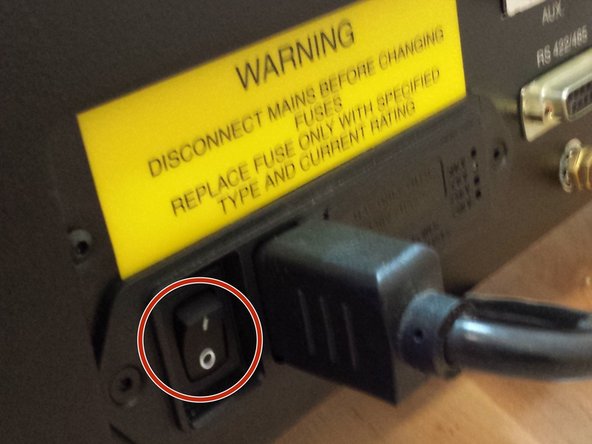
Press the power button on the lower right side of the machine to turn it on.
-
-
-
After the display is on, press OK to continue.
-
Select Scale in upper left hand corner.
-
Select the appropriate scale. In this case, HRC. Press OK
-
-
-
Use the arrow buttons on the front of the machine to bring the indenter close to the surface of the sample.
-
The indenter should not be touching the surface of the sample.
-
-
-
Press green Start button on the front of the machine to start hardness testing.
-
-
-
After the machine finishes testing hardness, the hardness information will be on the display.
-
To test sample multiple times repeat steps 6 and 7.
-
-
-
After testing is complete, clear data by pressing the clear data button.
-
-
-
Using the arrow buttons on the front of the machine, retract the indenter.
-
Remove indenter from the machine and place back in case.
-
-
-
Turn off machine with the power button.
-
Place the clear cover back onto the machine.
-


