Introduction
This guide presumes that you have already determined the proper type of Rockwell test that you need to conduct. See the theory and interpretation guide to determine which test to select.
-
-
A full walkthrough of the following steps can be found here.
-
-
-
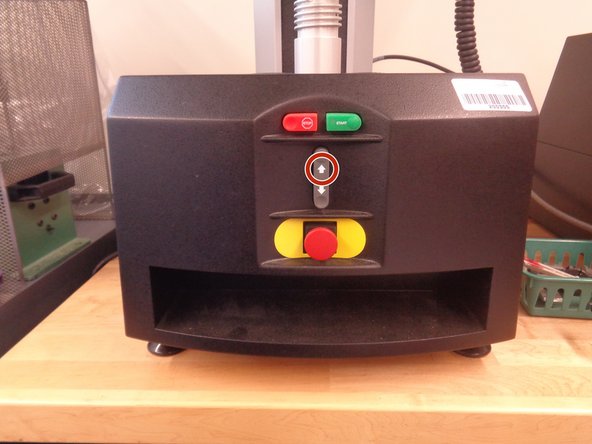
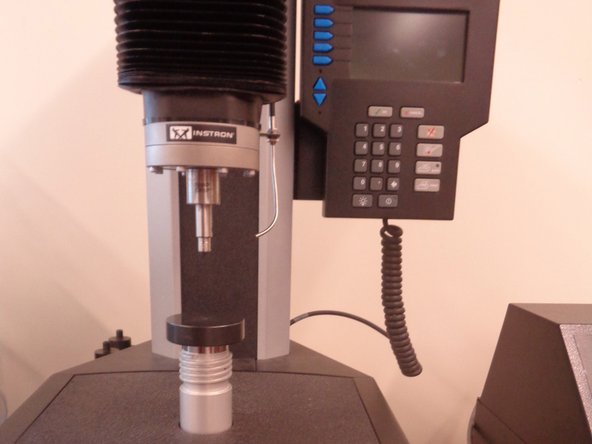
Switch is located near the backside of the machine
-
-
-
Using buttons on the display press OK to continue
-
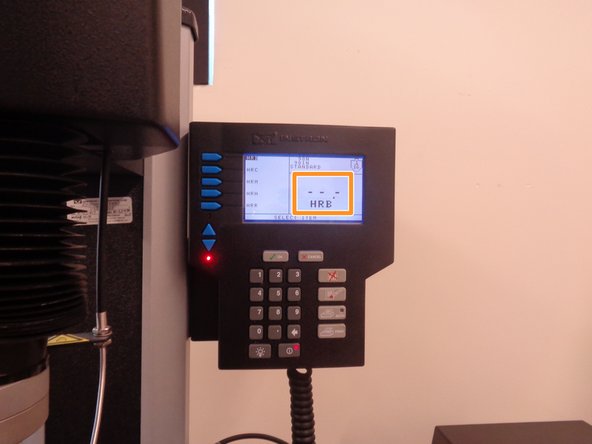
Select Scale in the upper left hang corner display
-
Usually HRB or HRC; check this table for a list of conditions and settings.
-
For the theory on selection of scales, go to this entry.
-
Press OK
-
-
-
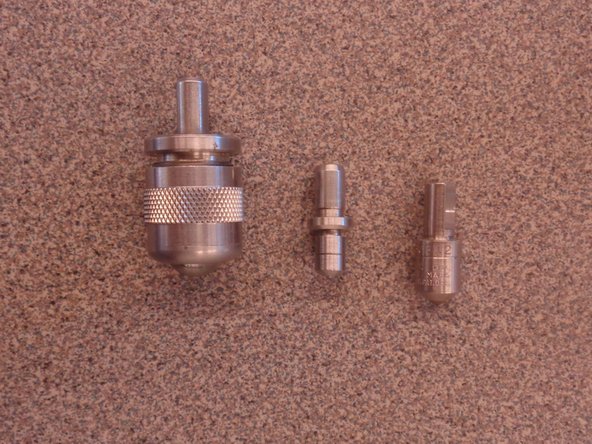
Choose the appropriate indenter based the scale that you are using.
-
If using the ball indenter, see the next step to prepare the indenter.
-
Choose appropriate indenter based on the scale that you are using. (B=carbide ball, C=braile)
-
Change anvil to match the needed geometry of your sample (flat or cylindrical).
-
-
-
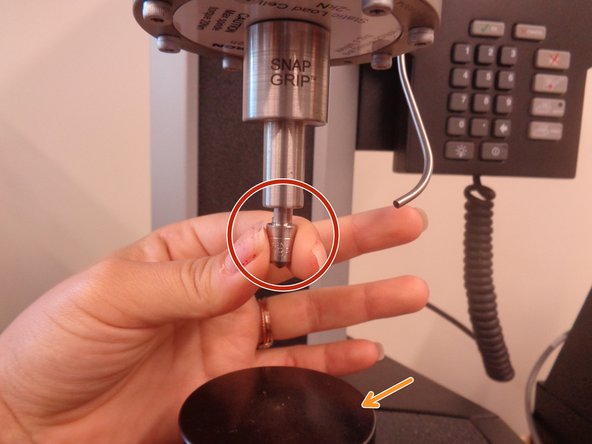
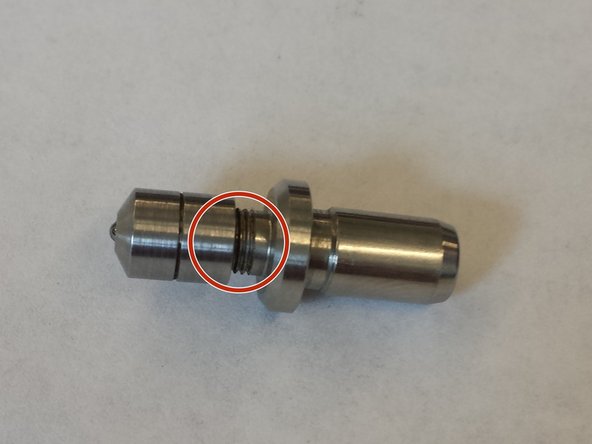
Check to make sure no threads are showing on the indenter.
-
The ball housing should be screwed all the way in.
-
Make sure the indenter being used is the correct indenter for the test. See the guide on theory and interpretation to determine the correct test.
-
-
-
Be careful not to cut yourself on the indenter when putting the sample on the stage
-
Move the indenter up to give yourself enough room to place the sample by pushing the up arrow located at the front of the machine
-
-
-
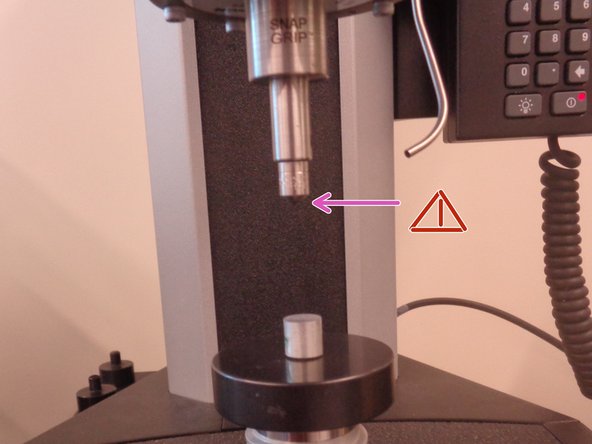
Bring indenter near (BUT NOT TOUCHING) the surface.
-
Indenter should not touch the surface.
-
Use the button on the front panel to lower and raise the indenter.
-
-
-
Record the displayed data
-
-
-
Each test permanently deforms the region beneath and around the indentor.
-
Each test should be a minimum of 2 indenter diameters from the edge or 3 indenter diameters from one another.
-
-
-
When testing is finished, clear data.
-
-
-
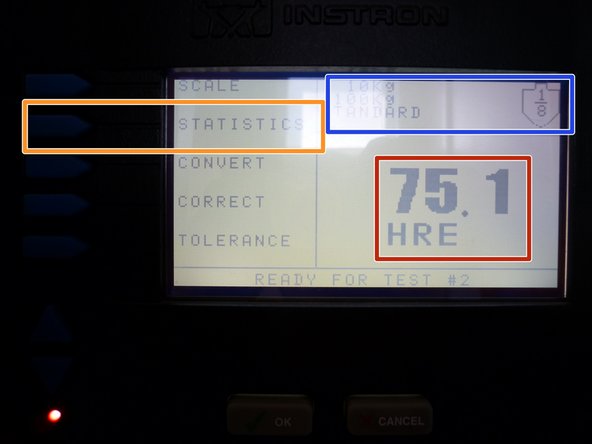
With repeated tests for the same specimen, use the statistics function.
-
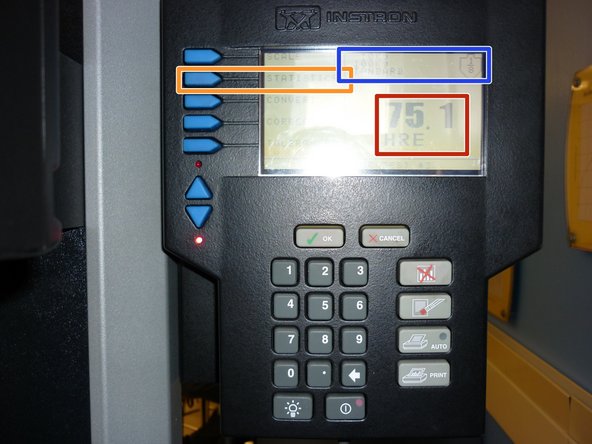
The Rockwell hardness reading will be displayed along with the scale.
-
If using the statistics function, you need to clear the values before taking the first measurement.
-
Press the STATISTICS button and follow instructions for clearing the values.
-
The load and indenter types are also displayed.
-
Indenters can be manually changed. Make sure that the machine has the appropriate indenter. The reading will be inaccurate if the indenter is not correct.
-
-
-
Retract the indenter using the up arrow in front of the machine
-
Remove the indenter from the machine, and place it back in its case
-
Turn off machine
-
Replace the machines clear cover
-