-
-
This machine has many hazardous moving parts. Review the safety section before using this machine.
-
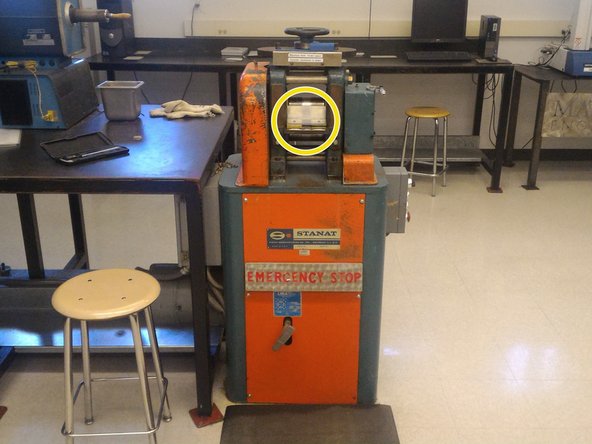
The front of the machine has the emergency stop lever at knee level with the control panel on the right side. Specimens are fed into the roller from the front and received in the back.
-
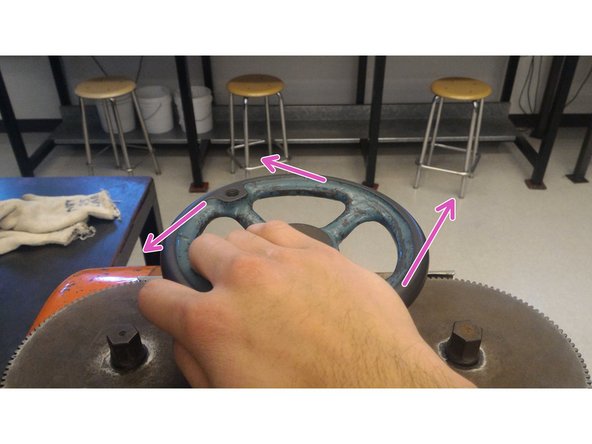
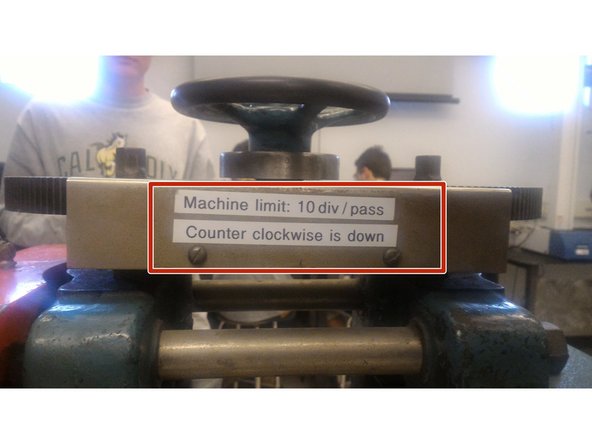
The adjustment wheel sits on top of the machine. It is used to raise or lower the height of the roller. Each tick on the wheel's dial represents 0.001''.
-
The control panel is situated on the right side of the machine. Two of the four controls on the side panel are pertinent to this lab:
-
Forward - turns the roller counterclockwise relative to the control panel side, allowing you to feed specimens into the machine from the front side.
-
Stop - Stops the machine and roller from moving.
-
-
-
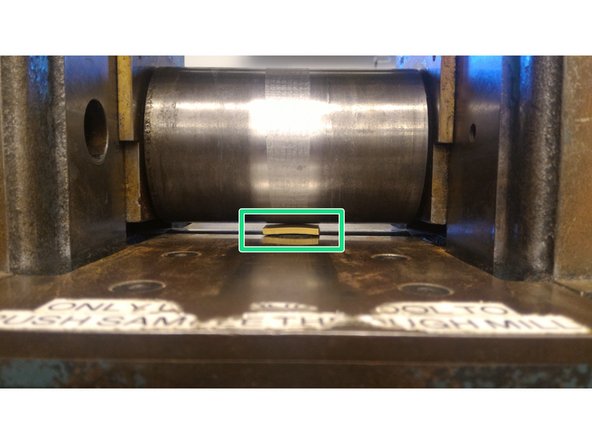
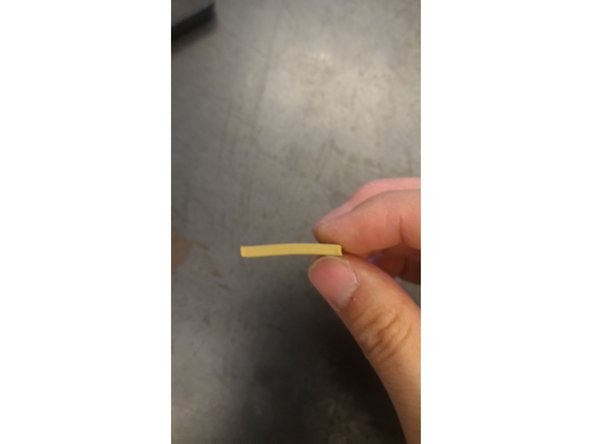
Measure the thickness of the specimen with the provided calipers.
-
-
-
This step requires reaching into the machine. Do not allow anyone to go near the control panel. Be ready to press the emergency stop lever with your legs in case of an accidental startup.
-
This process involves determining the height of the roller corresponding to the thickness of your sample; You then reduce the roller height by the desired number of thousandths of an inch.
-
Do NOT exceed 0.010" per rolling pass. It will damage the roller.
-
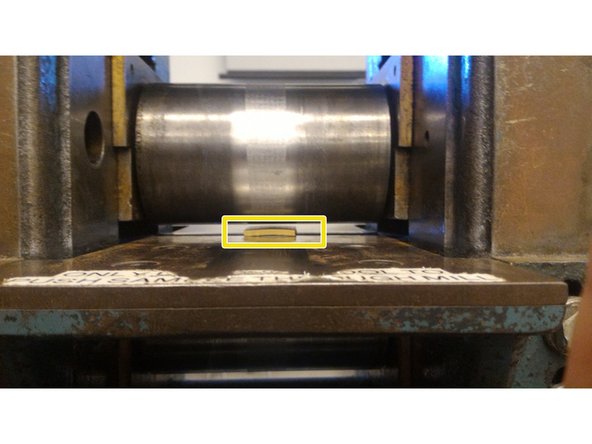
Leave the specimen between the roller and the platform. Turn the adjustment wheel counterclockwise to lower the roller until it lightly contacts with the specimen.
-
Note the tick mark location.
-
While keeping your hand on the wheel, raise the roller enough to remove the specimen, remove the specimen and lower the roller to the tick mark location noted above.
-
-
-
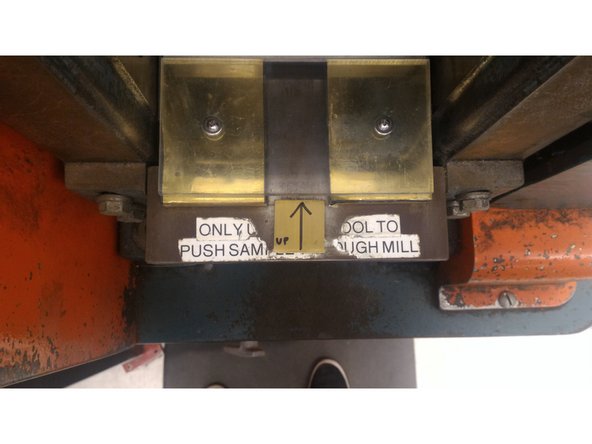
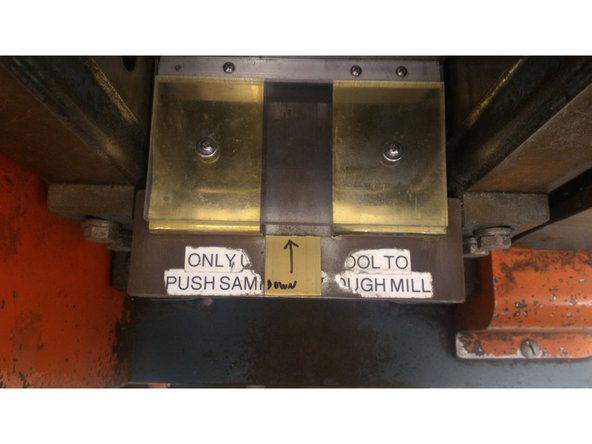
Place the safety guard on the front side of the roller.
-
Turn the adjustment wheel counterclockwise to lower the roller by the number tick marks needed. Remember that each division on the dial represents 0.001''.
-
Do not exceed 0.01'' (10 divisions) per cold work pass. Doing so is dangerous to the user and may damage the machine.
-
-
-
Press the "Forward" button on the control panel to turn on the machine.
-
Position yourself in front of the machine with your legs ready to press the emergency stop lever in case of an accident.
-
Use the feeding stick to push the specimen through the safety guard and into the roller.
-
Once the specimen has been rolled, turn off the machine.
-
After turning off the machine, pick up the specimen on the other side of the roller with your hands.
-
Measure the thickness of the sample with the micrometer to verify it has been cold worked the desired amount.
-
-
-
If more cold work is necessary, return to step 4 and repeat the process.
-
Flip the sample along its longitudinal axis before each additional cold work operation to ensure it remains flat.
-