-
-
If needed, move plasma unit to fume hood for use.
-
Put on personal protective clothing (safety glasses, non-conducting gloves).
-
-
-
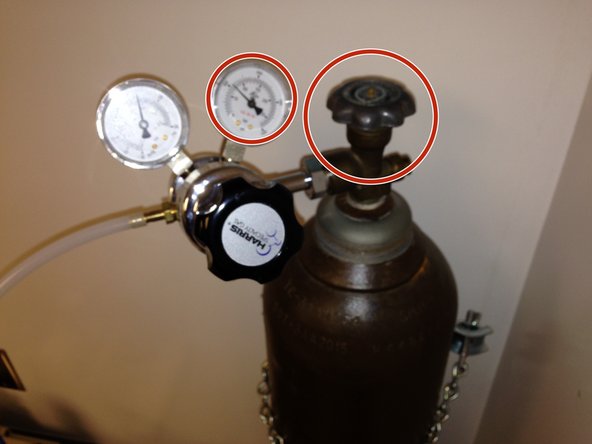
Open main argon tank valve until the pressure regulator indicates a tank pressure.
-
This should only require less than a full turn. Do not fully open the tank to the stop.
-
Adjust the regulator valve so that the step down pressure is between 10-20 psi.
-
10 psi is sufficient to produce a plasma.
-
-
-
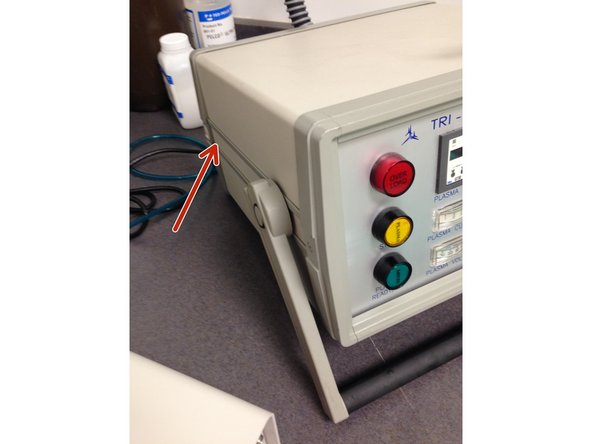
Turn on main power switch at the back of the unit (near the incoming 120-V AC supply).
-
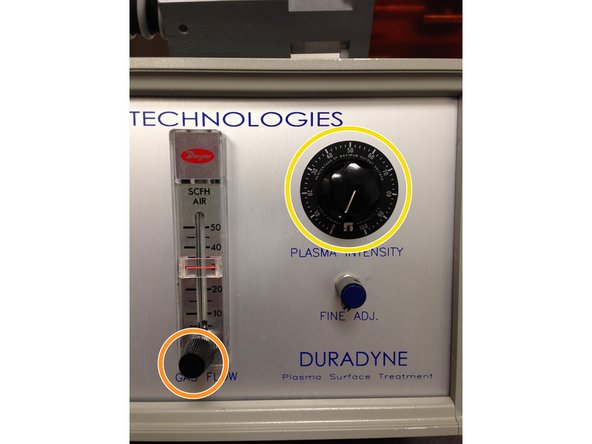
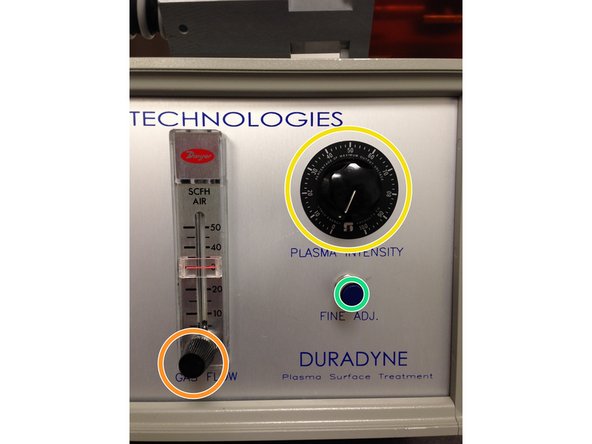
Turn gas flow valve fully clockwise (i.e., flow=off).
-
Turn PLASMA INTENSITY to 0 (zero).
-
-
-
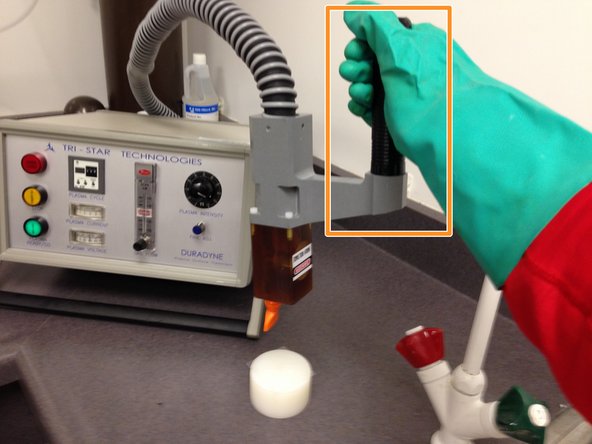
Put wand in position near the surface to be modified.
-
Prior to modifying the surface, you will turn on and adjust the plasma intensity.
-
Hold wand with handle (it is electrically isolated from the high voltage electrode).
-
Touching the electrode or tubing can result in shock or death!
-
-
-
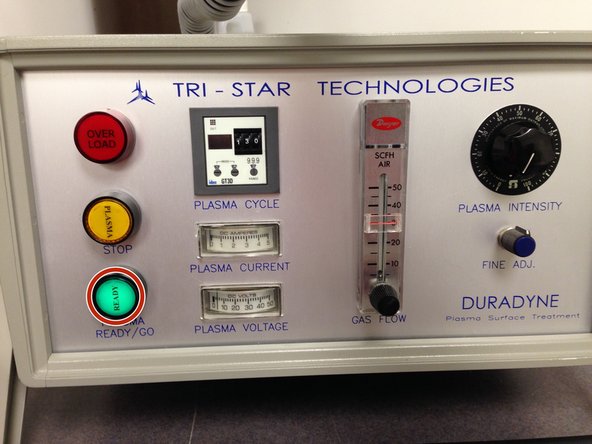
Press green button.
-
Shock potential: The electrode and wand are electrified.
-
Increase flow to 30 SCFH (Standard Cubic Feet per Hour) by turning counter clockwise to increase.
-
Slowly increase PLASMA INTENSITY until the desired plasma intensity is obtained.
-
Shock potential: The electrode and wand are now electrified at thousands of volts.
-
Plasma is present even if it is not visible.
-
Tune the plasma with the fine adjustment (if desired).
-
-
-
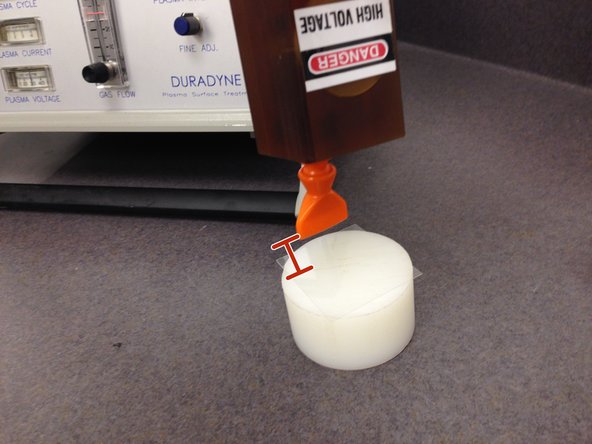
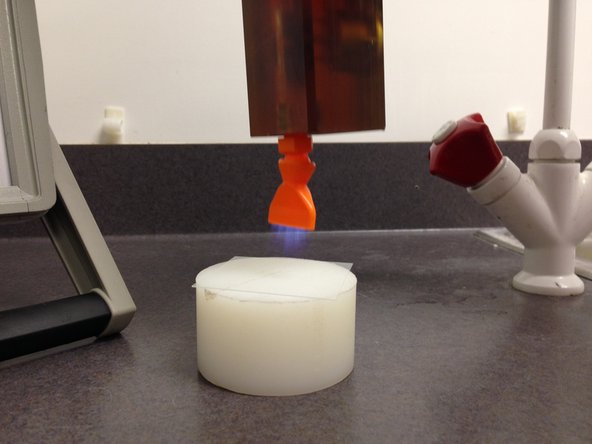
With plasm gun within 5 mm of surface, modify the desired are with the plasma.
-
Modification produces trace reaction by-products. Exposures in excess of 10 s should be done in a fume hood.
-
Minimize inhalation in vicinity of plasma.
-
Turn off plasma immediately when finished modifying surface.
-
-
-
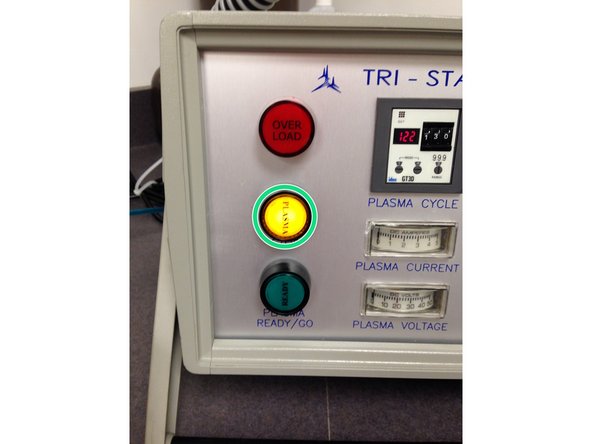
Stop plasma.
-
Turn off power to Duradyne.
-
Close main argon tank
-
Return Duradyne to original location if moved to the fume hood.
-
Cancel: I did not complete this guide.
3 other people completed this guide.


