
-
-
Record activity into SEM log book.
-
Using pen, enter your name, the date, the starting time, the room temperature and humidity, the operational mode of the SEM, and a description of your sample/ experiment.
-
-
-
Turn on computer monitors.
-
Turn on left and right “Acer” monitors by pressing CTRL-ALT-2 and moving the mouse.
-
Note: The monitors are often left on after use. If so, ignore this step.
-
-
-
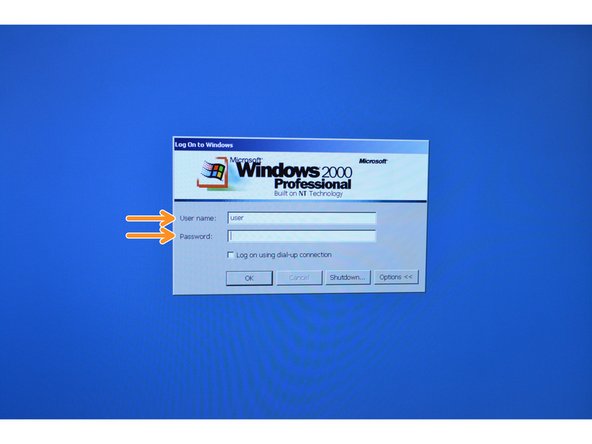
When prompted to log into the computer, enter the username and password.
-
Username: user
-
Password: user
-
Note: If the system asks you to change the password, just re-enter the same password.
-
-
-
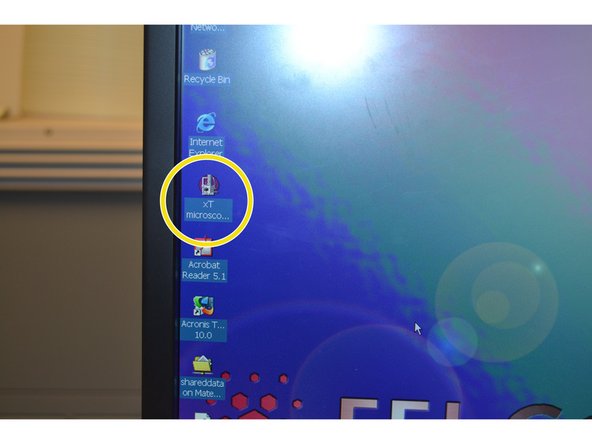
Click the xT Microscope Server icon on the desktop of the right monitor.
-
-
-
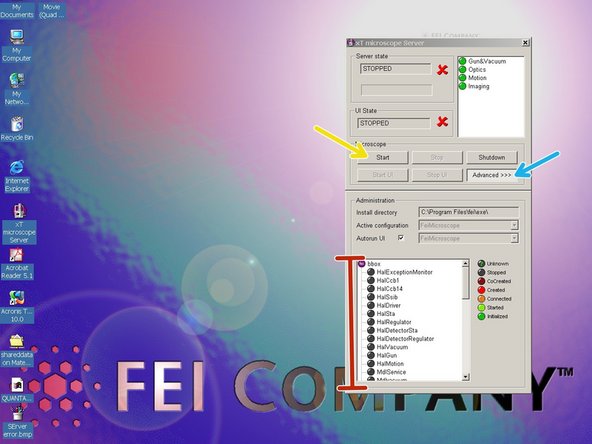
Click the “Advanced” button to show the expanded window. If window is already expanded, ignore this step.
-
Click “start” to turn on the server. This process may take one minute to complete.
-
Once all icons have switched from black to green, the software will boot up.
-
Warning: If the icons remain red, report the problem in the logbook, log off the system (see “SEM Logging Off”), and contact a faculty member in the materials Engineering Department as soon as possible.
-
-
-
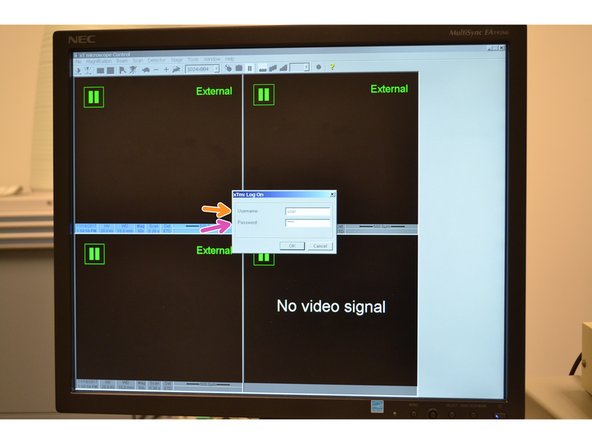
When prompted to log into xTm software, enter the username and password.
-
Username: user
-
Password: user
-
-
-
The software will prompt "Home the stage now?".
-
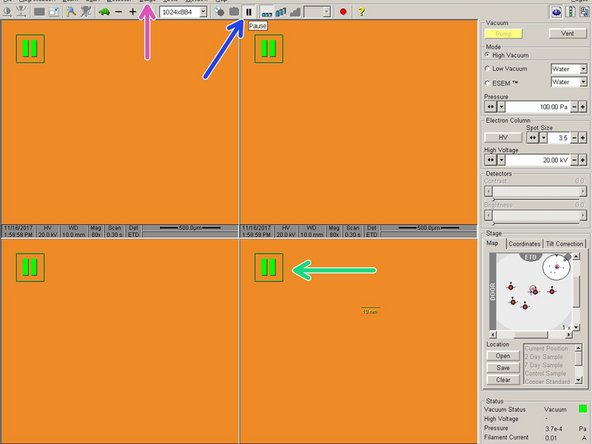
Before clicking yes to homing the stage, make sure the lower right window is NOT paused.
-
Click No so you can un-pause the screen.
-
To un-pause, select the lower right hand window, and click the pause button in the Tool Bar ( || ).
-
If window is not paused, ignore this step.
-
After un-pausing the camera, click the Stage tab in the Tool Bar. Select Home Stage.
-
Stage Information pop-up will show. Watch the stage being leveled in the lower right hand screen.
-
-
-
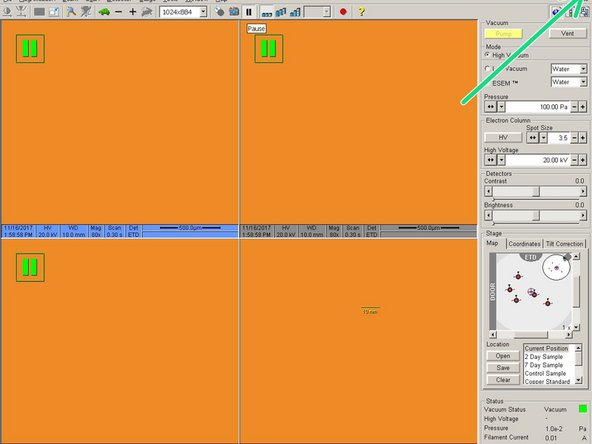
"HV" (High Voltage) button should be grey. If the button is yellow, click it to turn off HV.
-
Write in Log Book that the HV was left on after previous use, and report this to Dr. Harding or Eric Beaton.
-
Warning: If the HV was previously left on, after turning it off let it cool for 10 minutes.
-
If this step is not followed, the expensive filament will blow.
-
-
-
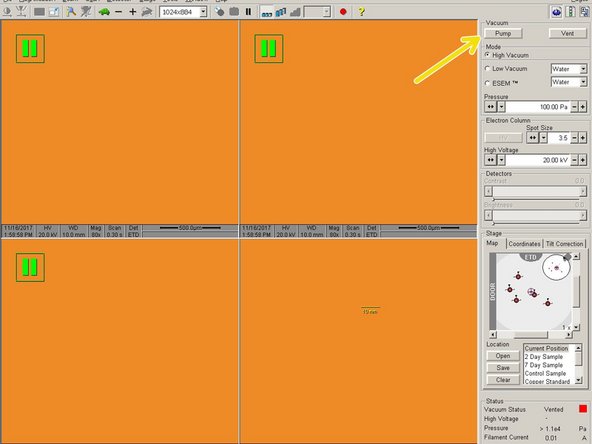
Record the vacuum pressure prior to venting the SEM chamber.
-
Use pen to enter the pressure in the log book.
-
-
-
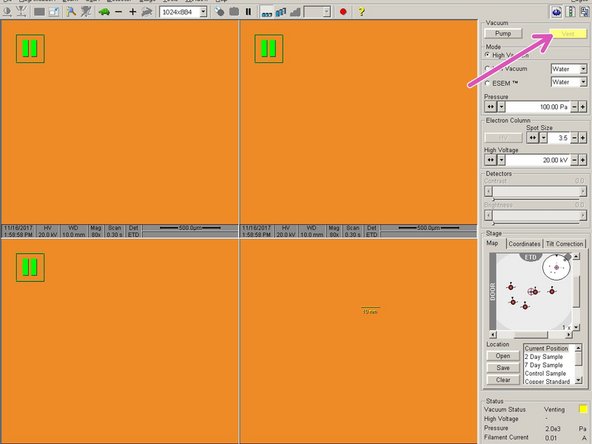
Prior to loading a sample, the chamber must be vented.
-
Click the "Vent" button.
-
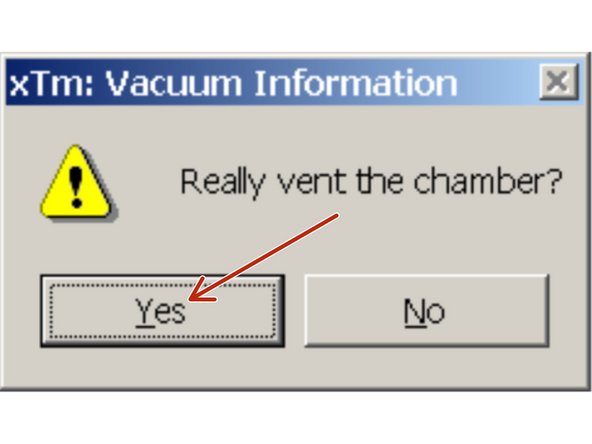
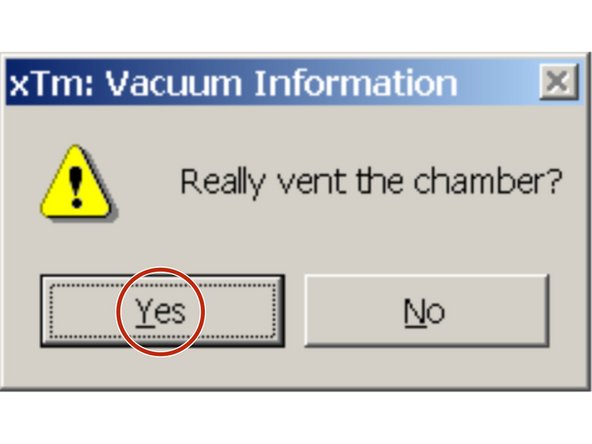
When prompted, "Really vent the chamber", select yes.
-
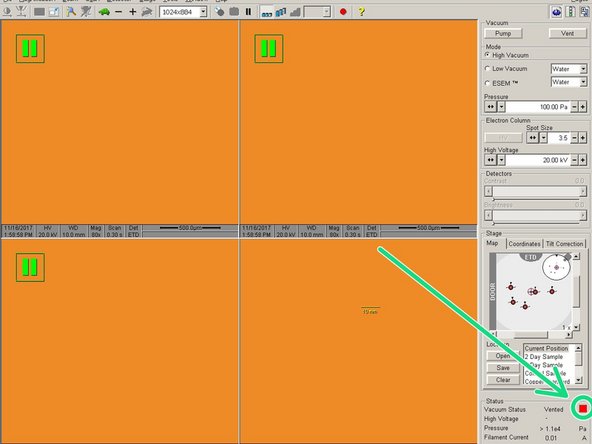
When the chamber has finished venting, the yellow light will turn red.
-
Note: the venting process usually takes around 2 minutes. The process can be viewed in the lower right window.
-
-
-
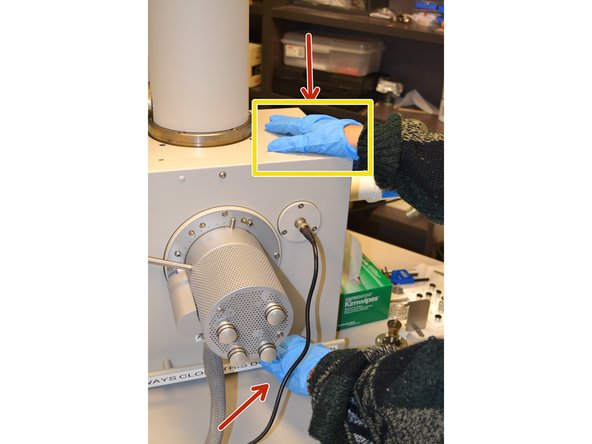
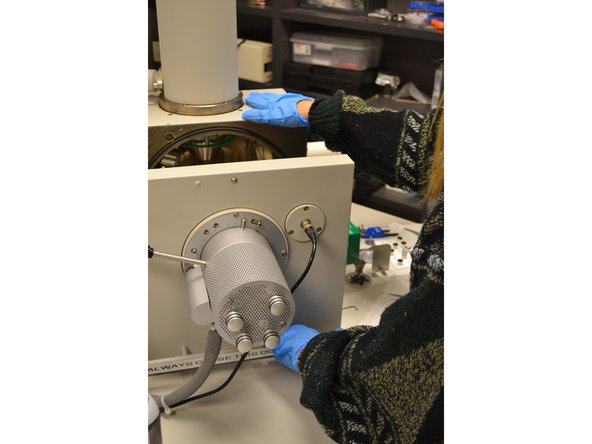
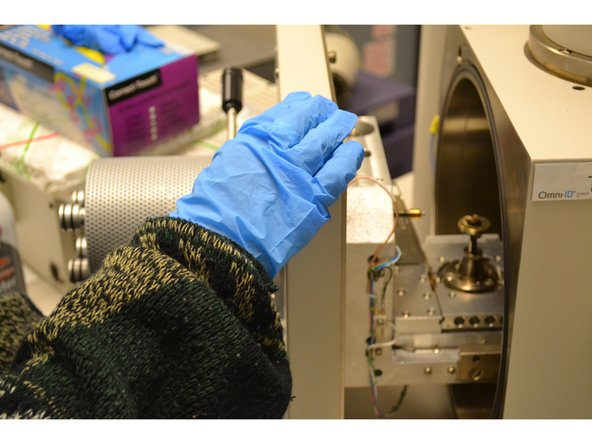
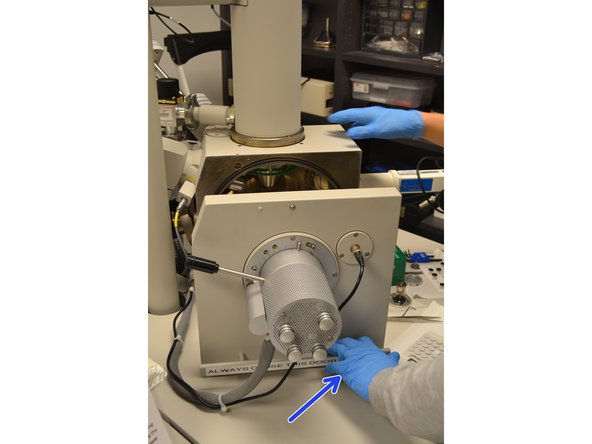
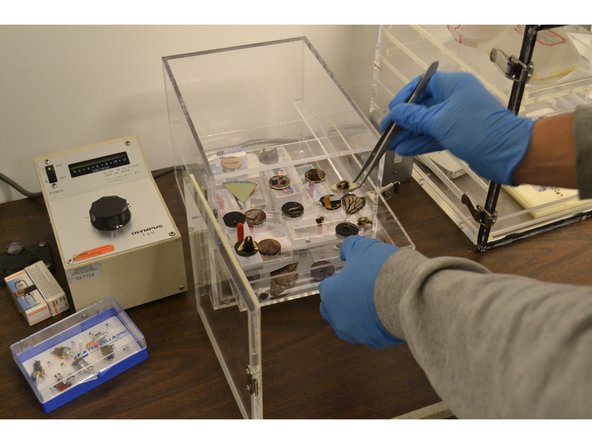
Put on gloves to handle your sample or any part of the SEM chamber to avoid chamber contamination.
-
Watch the video screen and slowly open the SEM door by its handle using the proper two-hand technique.
-
Warning: Do not open the door if the stage is tilted or if your sample will run into the SEM gun. Contact a MATE faculty member to help solve this issue.
-
-
-
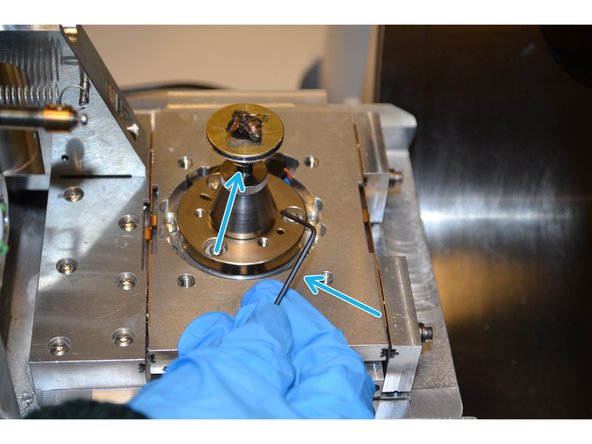
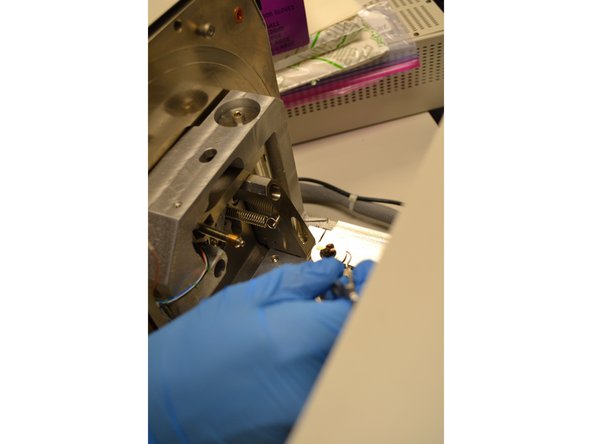
Using tweezers, place the lower, extruding portion of the SEM sample stub into the open portion of the sample stage.
-
Warning: Keep SEM door closed as much as possible to keep the chamber clean of contaminants.
-
Hand-tighten the set screw using the designated allen wrench.
-
Warning: Screw in gently and do not over tighten!
-
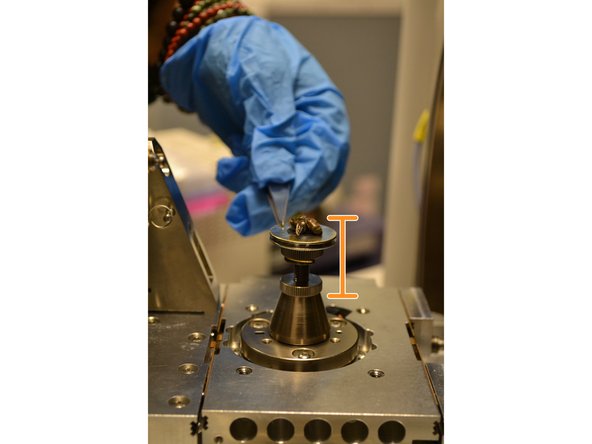
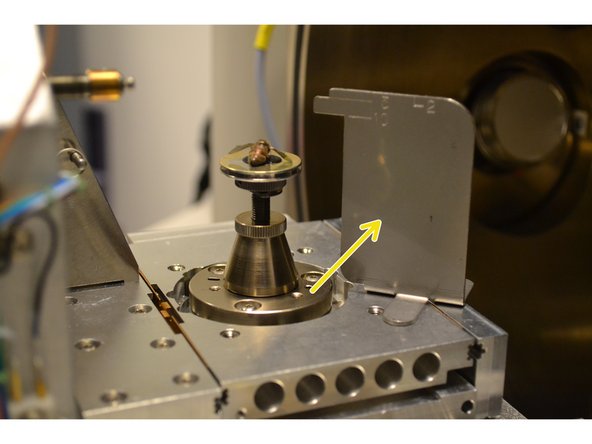
Insert the metal jig inside the chamber near the back right corner of the "X/Y Motorized Translation Stage".
-
Warning: Ensure the metal jig does not directly touch the sample stage, or an alarm will sound.
-
-
-
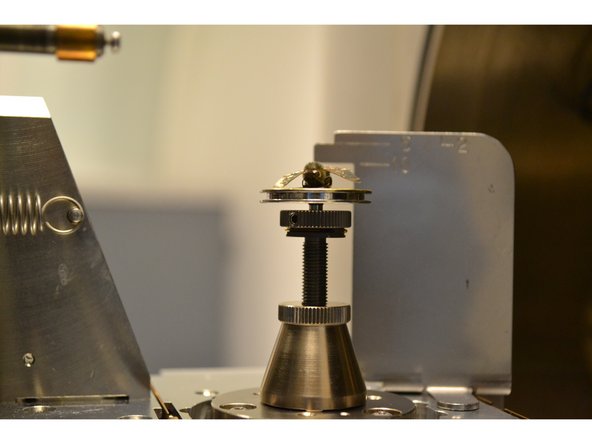
Adjust your sample height so that the highest portion of your sample is level with the 10 mm mark on the metal jig.
-
The height of your sample can be adjusted by rotating the sample stage by hand (wearing gloves). A clockwise rotation will move your sample up, while a counter-clockwise rotation will move your sample down.
-
Warning: If your sample is raised too high, it will run into the SEM gun.
-
Note: The scrolling wheel on the mouse can also change the sample height. Press the wheel and move the cursor above or below the onscreen line. The further from the line, the faster the stage will move.
-
Remove the metal jig from the chamber before proceeding.
-
-
-
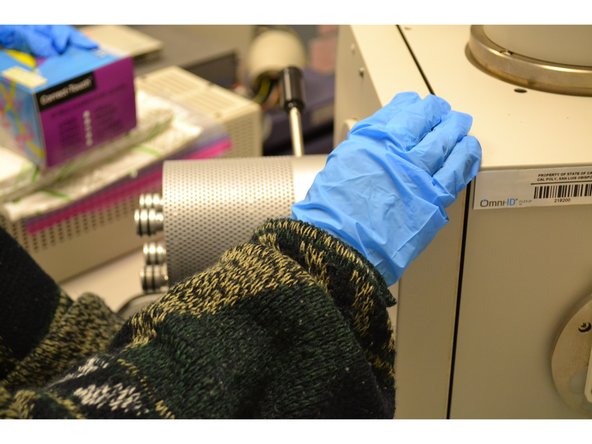
Watch the video screen and slowly close the SEM door by its handle while wearing gloves.
-
Warning: Do not close the door if the stage is tilted or if your sample will run into the SEM gun. Contact a MATE faculty member to help solve this problem.
-
Warning: Make sure the SEM door is completely closer before proceeding. There is a resisitive "bump" that must be overcome to completely close the SEM door.
-
-
-
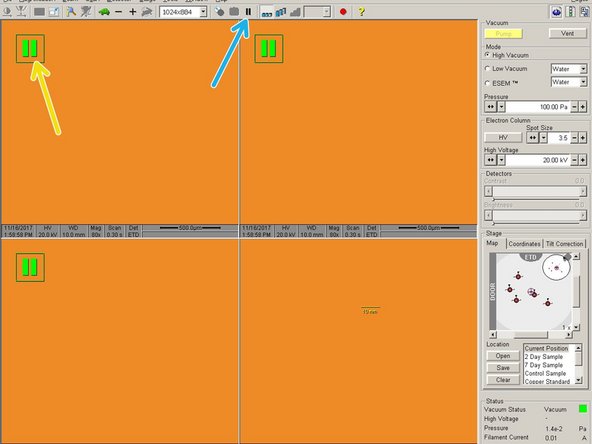
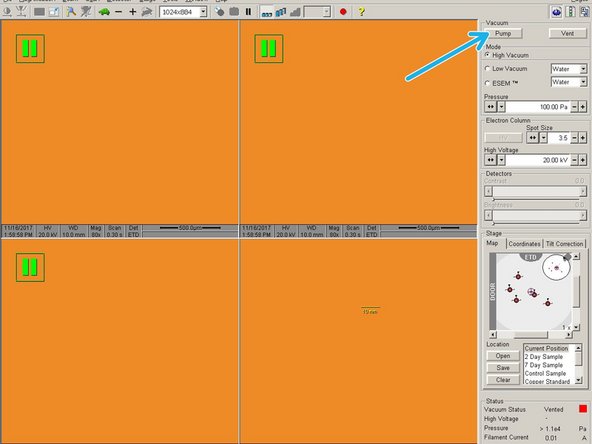
Click Pump to pull a vacuum inside the SEM chamber.
-
Using a timer, record the pumping time in the log book.
-
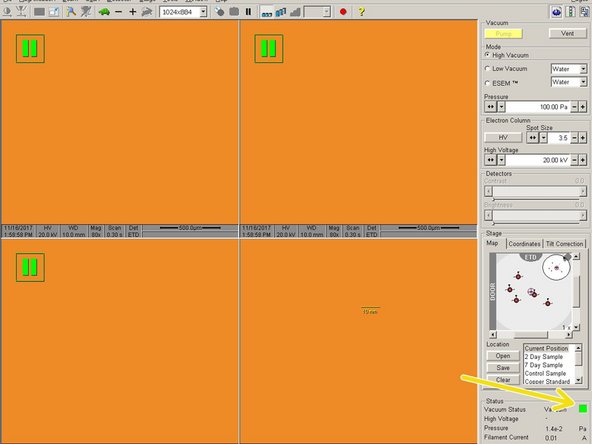
Note: The pumping time is the time required to turn the vacuum indication light green from the onset of pumping. This may take several minutes. The progress can be viewed in the lower right window. The indicator turns green below 2.6E-2 Pa.
-
-
-
Click the top left quadrant of the four viewing screens.
-
Unpause the SEM image by clicking the pause button ( || ) located in the Tool Bar.
-
-
-
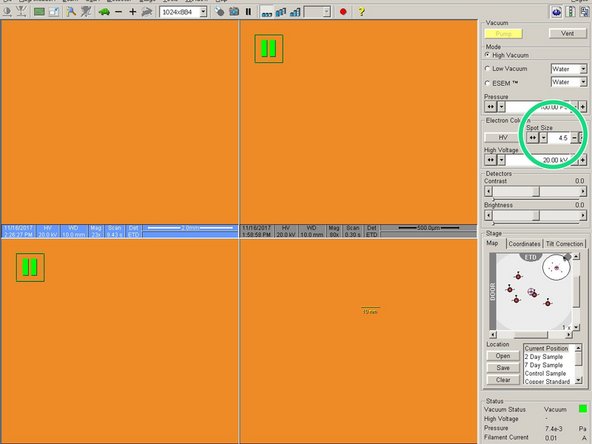
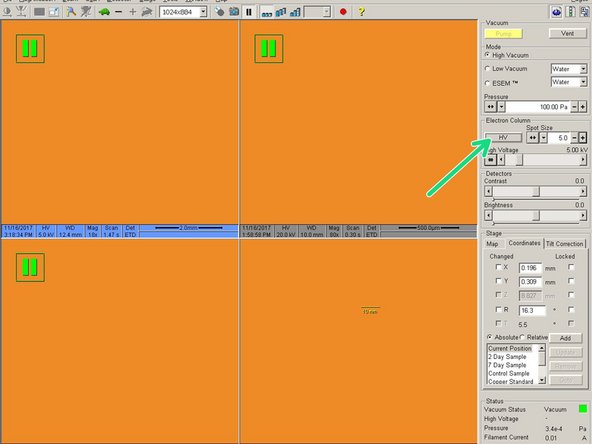
Spot size varies per application:
-
1,2 = Very High Resolution (> 50,000x)
-
3,4,5 = Standard Imaging (SE, BSE, LFD, GSED)
-
6,7 = BSE, CL, EDX, ESBD, WDX, Lithography
-
Note: Start at 4.5 kV and increase/ decrease the acceleration potential as needed for your sample.
-
-
-
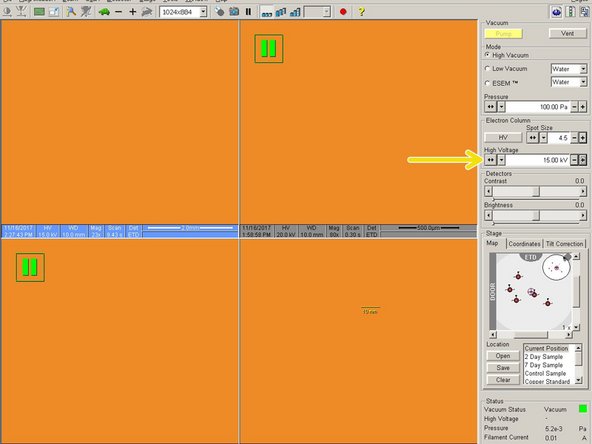
Set the high voltage ("HV") level to match your application. For general imaging purposes, an HV level of 15 kV is recommended.
-
High Voltage Guidelines:
-
Biological = 0.2 kV -10kV
-
Insulators = 1-5 kV
-
Semiconductors = 2-15 kV
-
Conductors = 15-30kV
-
-
-
Click the "HV" Button. It will become yellow after clicking.
-
Note: The HV button is located on the right side of the screen, under the "Work" menu tab. This button will activate the electron beam.
-
Warning: The green light does not indicate that the High Voltage (HV) can be turned on. ONLY turn HV on at or below 2.0 E-3 Pa, which can be viewed in the lower right corner.
-
-
-
Using a pen, enter the emission current into the log book.
-
Warning: If the filament current is zero, shut down the microscope following the "logging off" procedures later in this guide and contact a MATE faculty member.
-
-
-
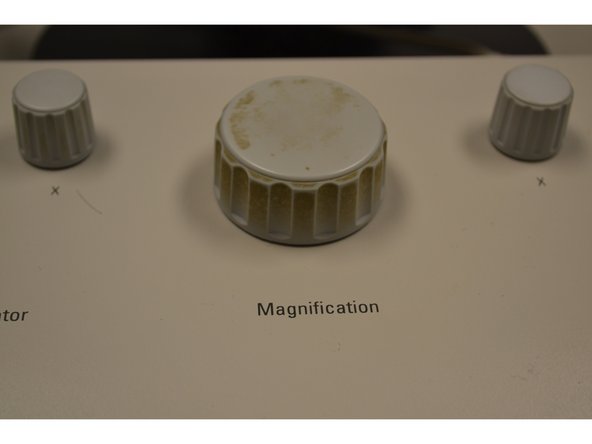
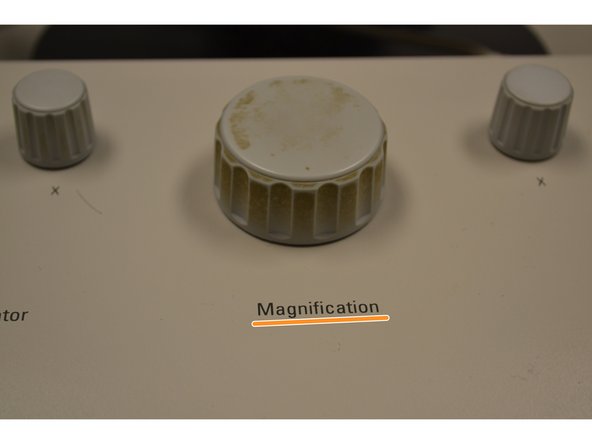
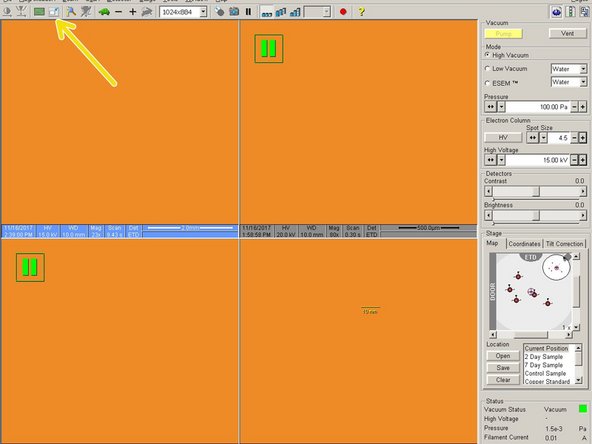
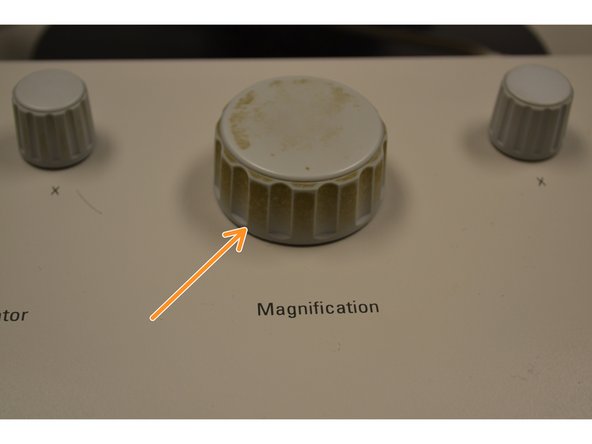
Set the "Magnification" to 50x using the large knob on the console.
-
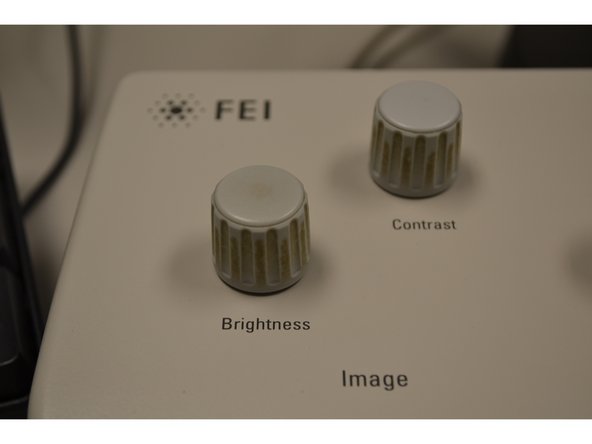
Adjust Brightness and Contrast knobs until you can see your sample on the upper right hand screen.
-
-
-
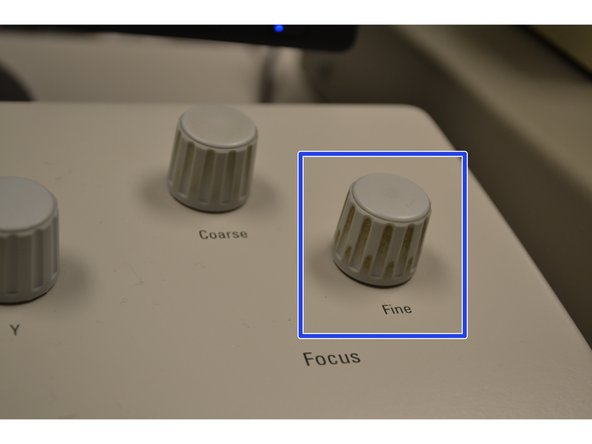
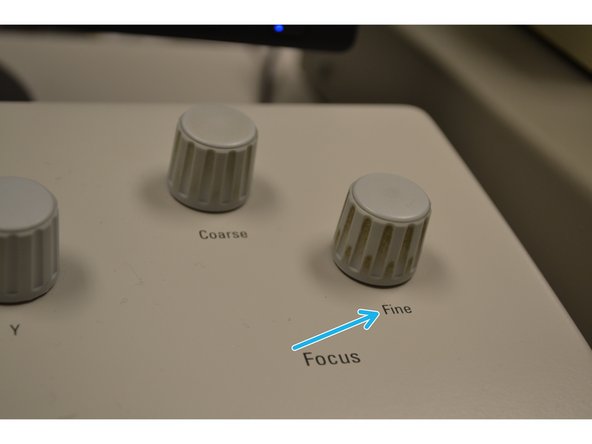
Focus the sample using the Fine focus knob on the front right of the console.
-
-
-
To move the viewing area, continuously double click the mouse in the direction you want the viewing window to go.
-
To zoom into a portion of your sample, draw a box around the area of interest using the left mouse button.
-
-
-
Once you've found your area of interest, continue to increase magnification with Magnification knob.
-
Find a point of contrast in the viewing area, and click the small square button. A smaller viewing square will appear on the screen.
-
Move this viewing screen to the point of contrast selected above.
-
Use the Fine knob to focus this image. Once focused, deselect the button.
-
-
-
Repeat the above listed steps as necessary to achieve a higher quality/ magnification image.
-
Note: Above 2000x, use the X and Y Stigmator knobs to focus sample. This will lead to higher quality at higher magnification levels.
-
Note: If you want an image at 5000x, you need to focus at a magnification at 10000x and then lower the magnification down to 5000x.
-
-
-
Once the window is focused, go into the Stage Tab and select Couple Z to FWD
-
Then set the z-coordinates equal to 10 mm in the right hand column under the Stage tab and press "Go".
-
Warning: If the sample looks like it might hit the SEM gun, press stop immediately!
-
Note: Selecting Couple Z to FWD will couple the monitored height of the sample to the working distance. Linking these values together will yield accurate movement between the known height of the sample and the end of the microscope lens.
-
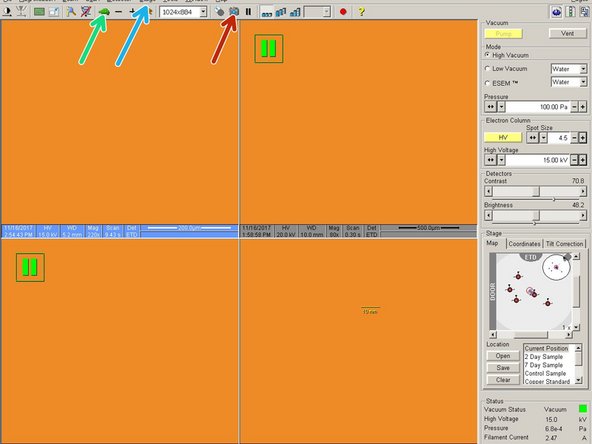
Slow the scan speed by pressing the turtle button.
-
Capture the image by clicking the camera button on the Tool bar.
-
-
-
Save an image by clicking File, then Save As.
-
In the save window, select Desktop
-
Select Shared Data
-
Select your designated folder
-
Name your image
-
Save your image
-
Recommended save format: bmp, jpg, or tif8
-
-
-
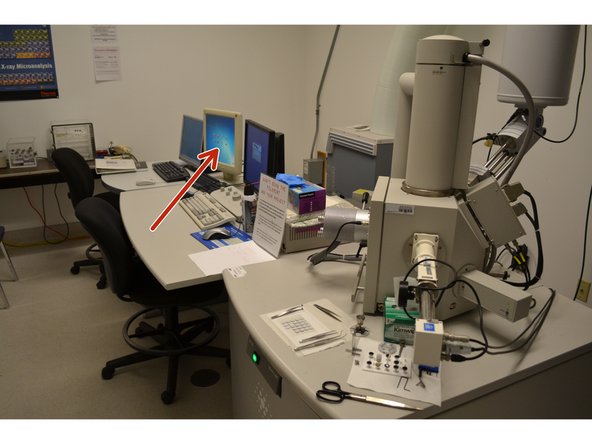
On the Acer monitor desktop , open the "SEM images" folder and then in the folder under your name. Save the image here and to your personal memory stick.
-
Note: Acer monitor is the right monitor.
-
-
-
Zoom out of the image by turning the magnification knob counterclockwise.
-
Set the contrast to 0 by turning the contrast knob counterclockwise.
-
Press the "HV" button to turn the High Voltage Source off. Button will turn grey.
-
-
-
Caution: Before venting the chamber to remove your sample, please wait 10 minutes to let the filament cool completely after turning off the high voltage.
-
Click the vent button after waiting 10 minutes. When asked "Really vent the chamber?", select "Yes".
-
When the chamber is finished venting, the yellow light will turn red.
-
Note: The chamber will take approximately 2 minutes to vent. The progress can be viewed in the lower right hand window.
-
-
-
Wear gloves when opening the SEM chamber and removing your sample.
-
Watch the video screen and slowly open the SEM door with the proper two-handed method.
-
Hand-loosen the set screw using the designated allen wrench.
-
Warning: Be gentle when unscrewing and make sure to not over-tighten.
-
-
-
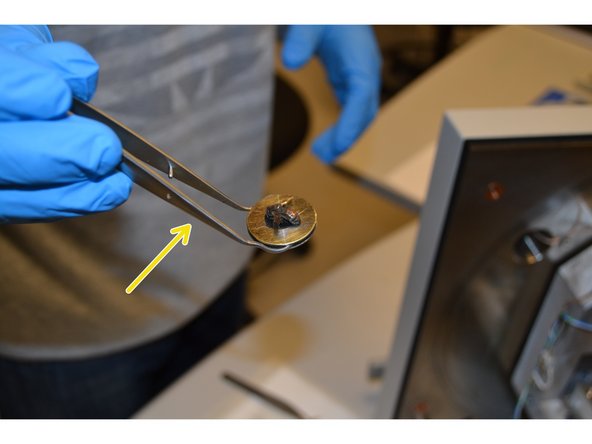
Remove your sample from the SEM stage using tweezers. Remember to keep the SEM door as closed as possible to avoid contamination.
-
Watch the video screen and slowly close the SEM door by its handle.
-
Warning: Do not close the door if the stage is tilted. Contact a MATE faculty to help fix this problem. Make sure the door is completely closed before proceeding.
-
-
-
After completing all sample removal steps and ensuring the chamber door is completely closed, pump the chamber.
-
Click Pump to pull a vacuum inside the SEM chamber.
-
Before proceeding, make sure the vacuum indication light is green.
-
Note: The chamber may take several minutes to be completely pumped. The progress can be viewed in the lower right window.
-
-
-
To log off the microscope software, close the operating software window by clicking the "X" in the upper right hand corner.
-
-
-
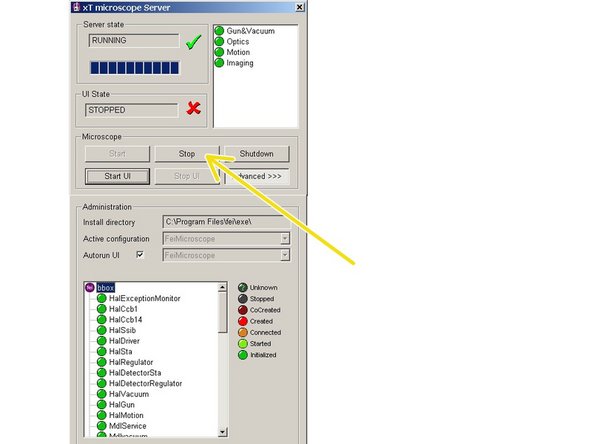
Click "Stop" to turn off the xT Microscope Server. This process may take several minutes to complete.
-
WARNING: Do not press "Shut Down"!
-
-
-
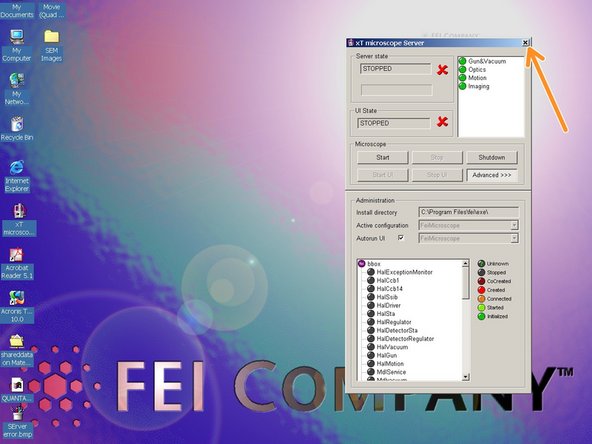
Close the xT Microscope Server by clicking the "X" in the upper right hand corner.
-
-
-
Log off the computers prior to leaving SEM room.
-
-
-
Prior to leaving the SEM room, record the end time of the imaging in the log book with a pen.
-
-
-
Prior to leaving the SEM room, ensure you clean up the area.
-
Failure to do so is grounds for having your access to the microscope denied in the future.
-


Cancel: I did not complete this guide.
6 other people completed this guide.
