
Introduction
The steps in this guide need to be followed carefully in order to safely and properly conduct compositional analysis using the XRD.
-
-
Please read the Interpretation and Theory, Safety, and Sample Preparation guides before reading this guide.
-
-
-
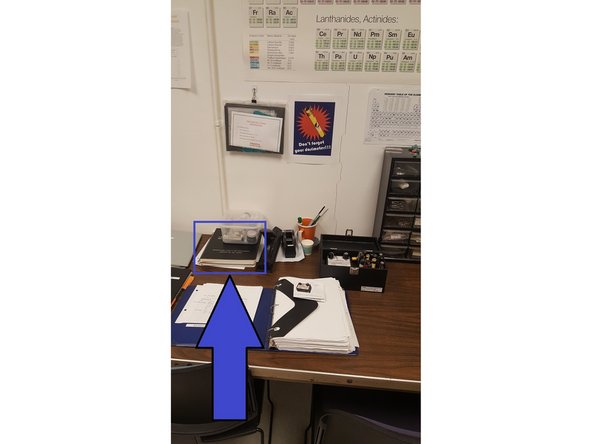
Pick up a dosimeter and measure initial reading by holding it to the light.
-
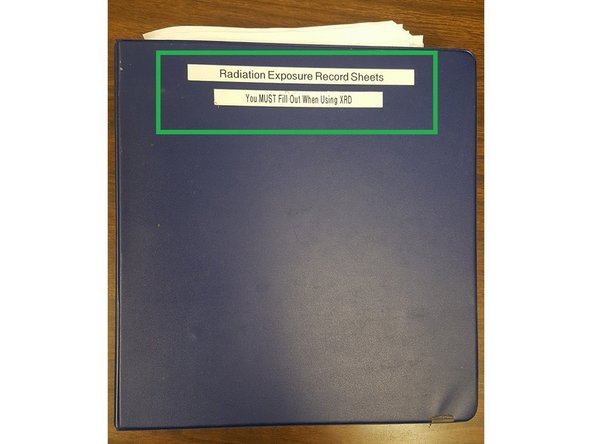
Record the following in the Radiation Exposure Record Sheet Binder: name, date, total time, initial reading, final reading, and net change.
-
Wear dosimeter at all times while working in the lab until signing out.
-
-
-
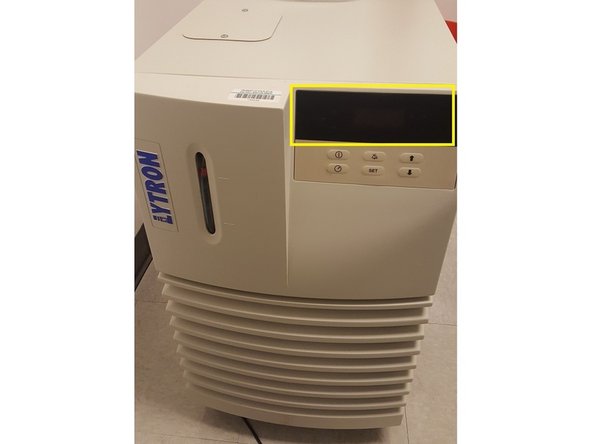
Check water coolant liquid levels are adequate and flow rate is over 4. by holding down Mode and using up/down arrows
-
To adjust water flow, hold down Mode and using up/down arrows
-
-
-
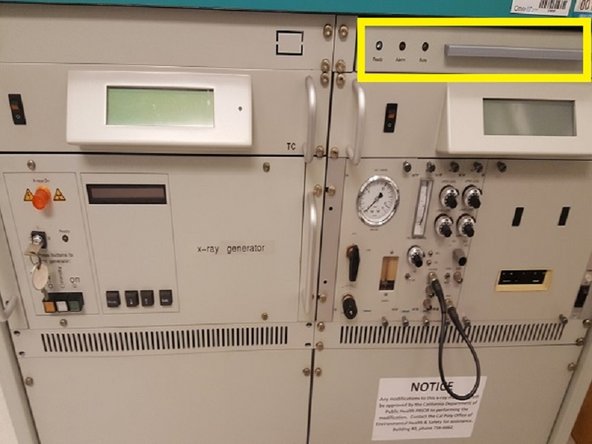
1) turn on main power switch
-
2) turn on second power switch
-
3) Turn key clockwise to I
-
4) turn XRD to stand-by mode and allow to warm up for 15 minutes. (kV and mA read null during this time)
-
-
-
Open slide tray. If X-Ray is not displayed, turn on X-ray:
-
1) Press Shift
-
2) Press 6
-
3) Press 1:1
-
4) Press Enter
-
-
-
Follow SOP for Sample Preparation to prepare the samples correctly.
-
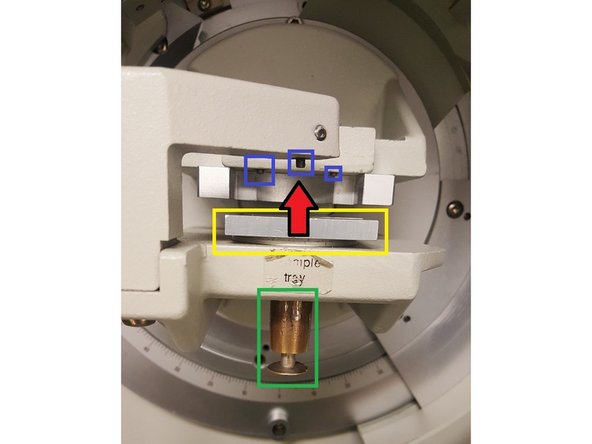
Ensure that the stage height can accommodate your sample holder.
-
If not, pull the lever under the stage firmly towards you and lower or raise the stage as necessary.
-
Carefully place the sample onto the stage. Make sure the sample holder top is flush with the 3 alignment pins.
-
Slowly push the sample up toward the pins.
-
Do not place anything under the stage that x-ray tube (left) can run into.
-
-
-
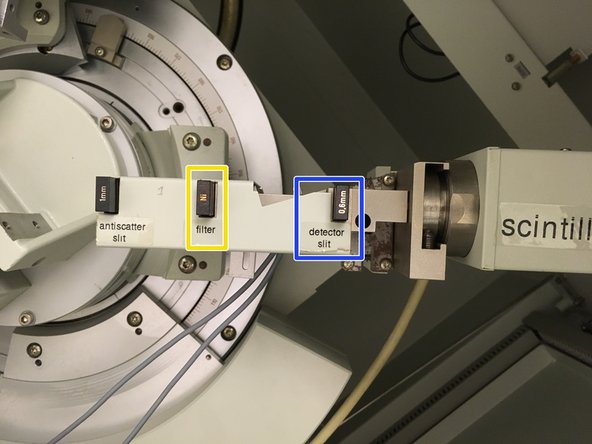
Add slits of equal size for the anti-scatter and divergence locations.
-
Smaller slits provide greater angular resolution at the cost of diffracted beam intensity.
-
Insert a Ni filter to filter out the K-beta x-rays.
-
Use a detector slit roughly half the size of the anti-scatter and divergence slits.
-
-
-
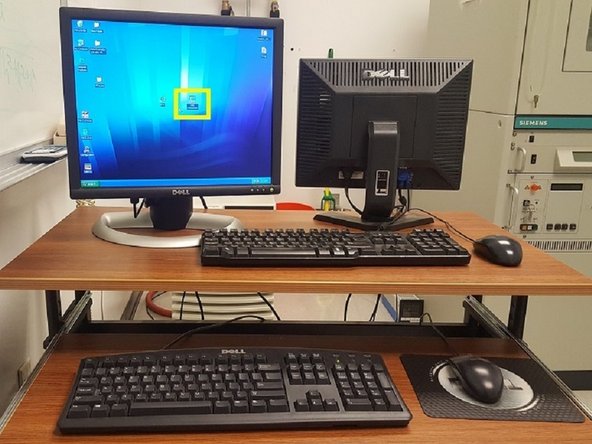
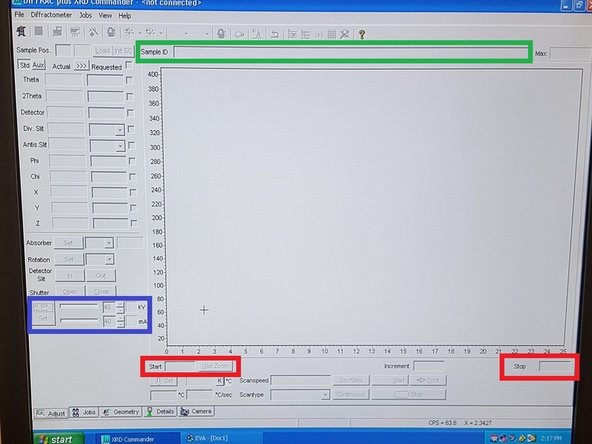
Open XRD Commander on the desktop
-
Fill in name with a unique Sample ID
-
Enter acceleration potential and current. (Typical XRD power parameters are: 40 kV and 25-30 mA.)
-
The x-ray intensity of the tube (photons/second) will be proportional to the product of the acceleration potential and the current.
-
Fill in Start and End (range) of the scan. A broad scan range (2 theta) is 10 - 100 degrees. You can use a smaller range if you know where the peaks should occur.
-
The angular resolution is determined by a combination of the anti-scatter and divergence slits, detector slit and step size.
-
-
-
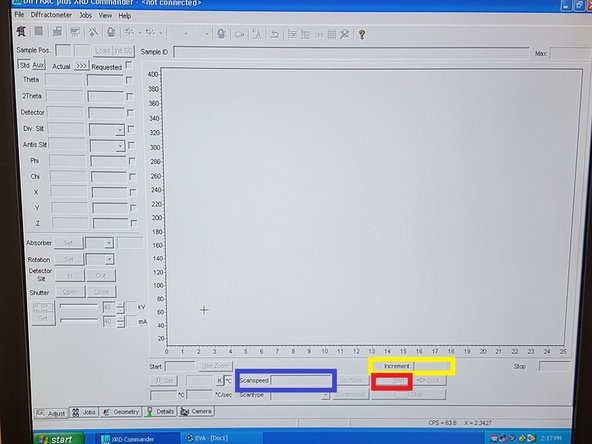
Fill in the Increment. A broad increment is 0.1 degrees. Decrease the increment to improve the resolution.
-
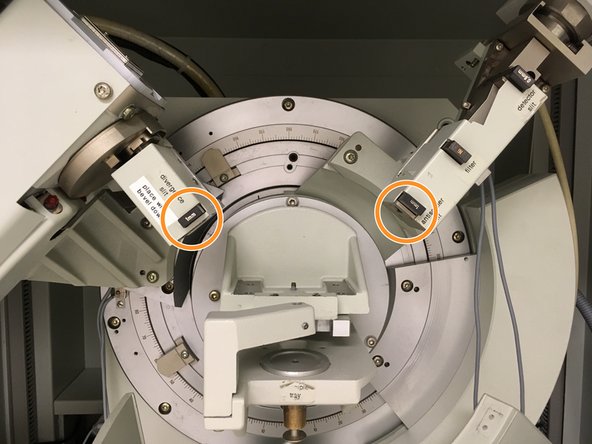
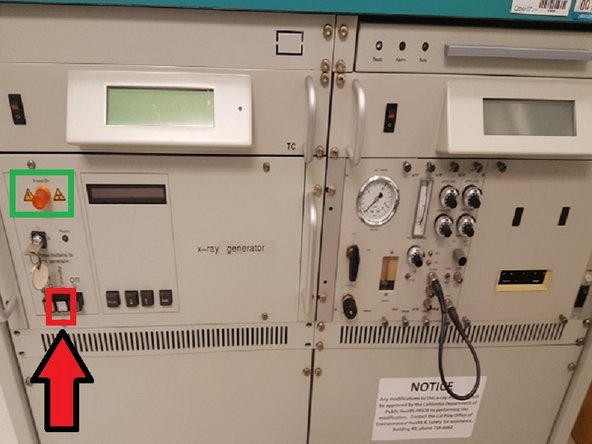
Turn X-rays ON by pushing the green ON button.
-
Set the scanspeed. A fast scan speed is 1 sec/step or 10 deg/min.
-
Lowering the scan speed increases the signal:noise ratio.
-
Click Start to begin data collection. This will cause the X-ray shutter to open and you should see the red light appear on the screen and on top of the machine. The red open shutter light should come on, if the door is opened or the flow drops, automatic shutdown will occur.
-
-
-
Press Stop when done with test.
-
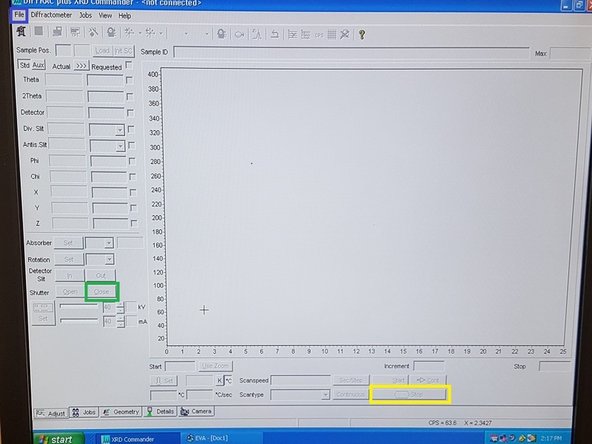
Turn off the X-rays by pressing the Close button. Verify the green Closed icon now appears on the computer screen and the red light in the X-Ray chamber is off.
-
Save the data in your own folder as a .raw or else file will not be saved as '.raw'.
-
Set XRD to standby mode by pressing the white Standby button.
-
-
-
Unload the sample and put away the sample and sample holder.
-
Record final dosimeter reading in the Radiation Exposure Record Sheet.
-
Fill out an entry in the XRD Log Book.
-


Cancel: I did not complete this guide.
3 other people completed this guide.
